Friday, December 31, 2010

Go to work in your SLIPPERS!

Yes, I get to go to work in my slippers! AND for Christmas I got 2 new pairs! LOL My friend Becky gave me the Tiger ones and my husband gave me the pig ones! How cute are those! Jackpot!

My husband says, "slippers are your trademark". That is what I wear to work. Since I have a home business I get to wear slippers. My Close to my Heart business has been the best job I have ever had.

If you would like to start the New Year off right and earn extra income, you too can start a Close to my Heart business! It is a great way to get your OWN scrapbooking done (tax deductible) get free & discounted products, meet new friends, earn free trips and oh yes, I almost forgot...make EXTRA MONEY all while doing a FUN JOB!

Give me a call or send me an email and I will be happy to talk to you about starting your own Close to my Heart business!

Oh and the last picture, that is my fun penguin hat that my friend Sara got me for Christmas! How cute is that hat! And warm! Now I need to find a pair of slippers to match my hat!


Tuesday, December 28, 2010

Magnifique!

I recently went to Colorado on a "working" road trip to my friend Julie's house! But with work comes play...and of course I had to bring COLOR coordinated popcorn balls to match our Magnifique layouts! lol

Here is the layout I made to show at my last Open House, but I didn't have any pictures for it yet...so here they are! This kit is SO beautiful! Not only can you use it for a TON of different things, but I also saw SNOW layouts in this too. Watch for those in an upcoming post. But I took our snowflake stamps and added a little snow pizzazz and now I have snow pages using this kit.

That is what I just LOVE about our kits...they are so versatile. So get out those snow pictures from all that snow last year and get scrapbooking them!

Friday, December 24, 2010

MERRY CHRISTMAS!

Today I thought I would share one more picture of our decorations. This picture was taken right before my husband work party. I just love how the focus is on the candles but you can see the fireplace and the tree in the background.

Remember when you are taking pictures these next couple days...take them at different angles instead of straight on. Also, take them in different places. We seem to take them at the same locations every year. Same tree, same decorations, same angle. Branch out this year and take your pictures differently. You will be happy with the result.

I hope you are almost done with all the shopping, preparing, wrapping and cleaning. Take a deep breathe and enjoy the next couple days with family! I pray you will have a safe and fun weekend.

And remember to celebrate the birth of our Savior! That IS really what it is all about. Enjoy and I will see you here next week!

So from my blog, I wish you a VERY Merry Christmas!

Tuesday, December 21, 2010

Memories

Today I want to share pictures of Grant. It is a hard day, but I decided to share these so silly pictures with you of how silly he really was.


The picture with the flowers behind his ears, was when he and Cody were decorating dirt cake cups. We put fake flowers in the individual cups. Hmmm I wonder who got the flowers after they were behind his ears! LOL

Then we were swimming and he just looked so funny with his goggles on.

The last picture...well, it is true Grant. I didn't know how fun someone could have by putting an orange slice in their mouth! lol He was always trying to make someone smile! And after all this time, he still makes me smile!

Remember how important pictures are. And scrapbooking truly does make us relive our memories over and over again! So keep clicking those pictures...especially the silly ones!

Friday, December 17, 2010

Noel Banner


I made this NOEL banner a couple years ago, but I just love it. I just took 4 Cranberry circle pieces of cardstock, matted with patterned paper, stamped evergreen branches on Colonial White and then used our Dimensional Elements alphabets to spell NOEL. You can use whatever word you want. Then I added some ribbon and sparkles.

The last thing I did was put them together with our hinges and a complete project. Give it a try. It adds a little personalized touch to your decorations.

Tuesday, December 14, 2010

Strange but YUMMY Dessert


Chocolate Cherry Treats

Need a FAST, EASY and YUMMY dessert? Here it is. Not the best picture on our granite counter, but trust me...they are yummy.

I got this recipe in my Food Network Magazine...it was a pull out from Kellogg's.
They are basically Chocolate Cherry Rice Krispie Bars. They were so intriguing, I just had to try it. I didn't think they were going to be good, but what the heck...

2 c Kellogg's Rice Krispies Cereal
1 c semisweet chocolate chips
1/2 c chopped dried cherries
1/2 c chopped pistachio nuts
3 T butter
2 c miniature marshmallow or 20 regular marshmallows
1 t vanilla

In a large bowl combine Rice Krispies, chocolate, cherries and nuts
In medium saucepan melt butter over low heat. Add marshmallows. Stir until completely melted. Remove from heat. Stir in vanilla. Pour over cereal mixture. Stir until well coated.
Evenly press into 8 x 8 x 2 dish coated with cooking spray. Refrigerate for 30 minutes. Cut into squares. Best if served the same day.

TRUST ME...they are just as yummy on day 2 & day 3, but there wasn't any left to test them on day 4! lol

This is a great treat if you are short on time! Hope you enjoyed them as much as we did!

Friday, December 10, 2010

Christmas Layout

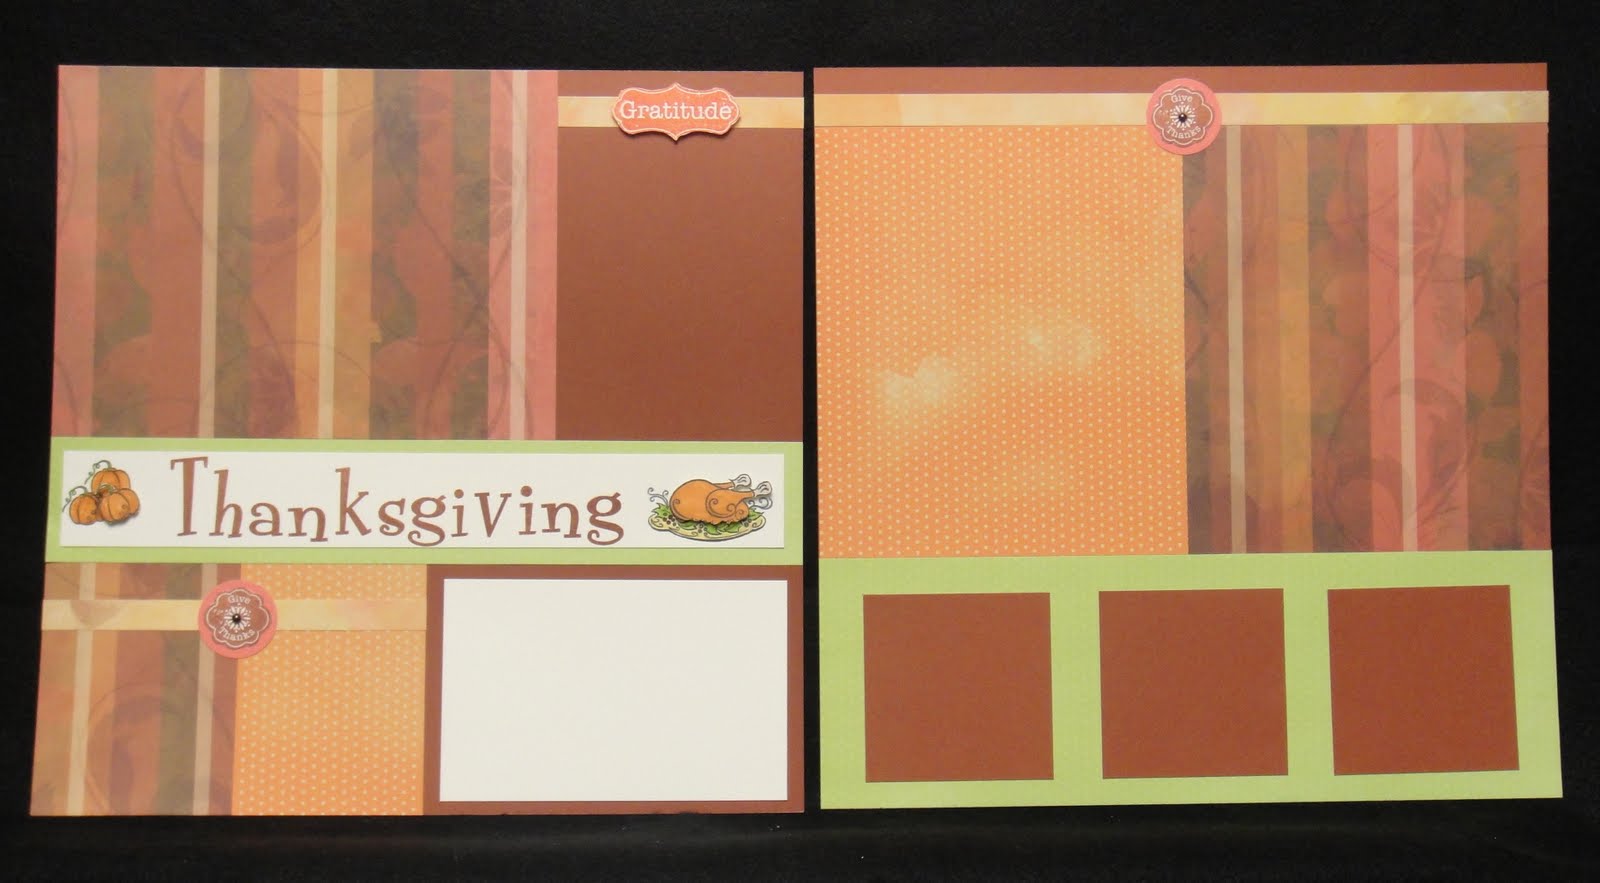
Here is a Christmas layout that I made the other day. It is from our Magic How To Book. It was a pretty quick layout. Some days I really like quick! lol I took these trees and cut them out, then popped them up. Added a few red sparkles and done. On the right side, the card that says Peace on Earth is a journaling piece that can pull out.
I have been making a bunch of Christmas layouts...I better have enough pictures!

Tuesday, December 7, 2010

Christmas Decorations

It's that time...time to stop scrapbooking (EEK) and start decorating for Christmas. Normally we don't start to decorate until the first weekend in December, but my husband volunteered to have his work party at our house. BREATHE! lol It's ok...we like to host parties...but with that came a little stress. We have to start decorating early. So we started the day after Thanksgiving.

Now we volunteered to host the party not only because we like to host, but it will keep us busy in a very hard part of the year for us. 11 years ago, our 16 year old son Grant died in a car accident 3 days before Christmas. It really makes the holidays hard, but we are getting better and have figure out that staying busy works well for us during this time. I tell you this to remind you that it doesn't just happen on tv, it can happen to any of us...so hug your kids and enjoy the moments...oh and take pictures! LOL

So...out came the trees and decorations and here are some pictures of our house. I will share more with you later...I am waiting for a picture to arrive and it was too light this morning and the sun hit the tree funny so I couldn't take a picture...but here are some pictures to put a smile on our faces. I even decorated our cats "entrance" to their area and Corley was nice enough to come out for the picture...ok it took 3 takes, but it finally worked! LOL


This picture is our last picture of Grant. We were at Disney and we found Tigger so I MADE them pose with Tigger (he's my favorite character). Cody is on the left and Grant on the right. We just love this picture...they are both laughing as Tigger hugs them. I am very thankful for this picture...it makes me smile.

Friday, December 3, 2010

It's Beginning to Look a lot Like CHRISTMAS!


The stores are ready, the neighborhood's are getting decorated, the trees are going up...so you know what that means...it's now officially the Christmas season!

So with that in mind, I wanted to share a Christmas layout I made (I copied from the catalog), mine is a little different....but I LOVED it.

I used our Mistletoe kit and our Father Christmas stamp set (D1449). The part that I really love is the NOEL. I stamped it in Cocoa, then I stamped it in Cranberry on a separate piece of cardstock. I then cut out the Cranberry NOEL...yes, I really did cut it all out. Then I stuck the Cranberry Noel down on the Cocoa Noel to give it a two tone look. Now, would I do this 50 times...NO, however, I did it this once and just LOVE how it looks. I felt it was worth the time to have an amazing layout.

You might be surprised on how cool this look is and it is worth your time. Give it a try!

Tuesday, November 30, 2010

Use What You Have!


Do you purchase our workshop kits? You know the ones with the paper pack, stamp set, accessory and the color brochure? If you aren't, then you should be! LOL But if you are purchasing these, then I highly recommend pulling them out! Did you forget you had these? I tuck them in the back of my How To Books so I don't forget that I have them.

So recently I pulled one out and created this layout. The brochure is from the Notebook kit. If you purchased this pull it out and start creating! Or whatever ones you purchased, pull them out and use them! They are easy to forget when they are not with your other How To Books.

This is a quick and easy layout I did of my son (when he was little) playing baseball. This is why we do this...to relive those memories all over again. So during this crazy time of year, try to stop, take some time for YOU and relive those memories!

Friday, November 26, 2010

Art & Soul Episode - Stencil, Sparkles & Shine


Now that you are full of turkey and maybe a little tired of family...it's time to get CREATIVE!

Our newest episode of Art & Soul is up and ready for you! It's all about Sparkles and Shine for the Christmas Holiday. Check it out. It is 12 minutes and 51 seconds of pure creative fun! It will give you a TON of ideas for your Christmas cards, gifts and layouts.

Click on this link to my website and then click on MyCTMH TV!
This episode is something to be "thankful" for!

Tuesday, November 23, 2010

Thanksgiving Layout

Do you need a cute layout for all those Thanksgiving pictures that you will be taking this week? Here it is! I used our Olivia paper pack and even used paper that we didn't use in our groups.

The stamps I used were the November stamp of the month (A Little Thanks) and our Harvest Home (C1419). I just love that turkey! I did cut him out and pop him up.

I also used our Cherish How to Book...layout Silver Screen.
So take some time to be thankful while scrapbooking just a little! LOL The markers I used to color the pumpkins were Sunset and Pear. The turkey was colored with Autumn Terracotta and Grey Flannel markers. Have a Blessed Thanksgiving! And make sure to take some pictures!! lol


Friday, November 19, 2010

Personalize Your Scrapbook Layouts


Do you ever wish you could personalize your scrapbook just a little bit more? Here's my idea. You can make a personalized stamp with your team name on it, your school name or even your kids names. I have even used these for change of address, and a personalized Christmas Greeting for my Christmas cards.

You can personalize your own stamp for as little as $7.95 and that includes a block too! They are on page 85 of our current catalog. Check them out! You have a pick from 6 fonts.

Here I made a stamp that said NEBRASKA and used our football stamps (C1375 In the Game - Football) to stamp the colors of the Nebraska football team. This is a GREAT way to use your stamping supplies to really get personal.

The other page I made one that says Millard West...it is a school that I do business with. I got out our baseball stamps (C1393 In the Game - Baseball) and made a page.

The possibilities are endless with personalized stamps. All you have to do is figure out where to start! LOL

Friday, November 12, 2010

Art & Soul Episode - Autumn Projects to Fall For


Our newest Art & Soul episode is up and ready for viewing. Simply click on my website and then CTMH TV and watch our newest episode filled with fall projects

It is only 12 minutes and 19 seconds long...so take a quick break and learn some new techniques with CTMH's Vice Presidents.

Enjoy and keep stamping!

Tuesday, November 9, 2010

Scrapbooking Halloween


Have you ever made something just because it was too cute not too? I did this very thing for Halloween.

My baby is now 24, and we are empty nesters (YIPPEE), and don't have anyone at home to eat cupcakes (except me) but I decided to make these adorable monster cupcakes for Halloween! I love decorating cakes, but cupcakes give you quicker gratification! LOL

So here are my little monster friends. I can't wait to get the pictures developed and scrapbooked! And of course, they match our Hooligans kit perfectly! I bet you think that was by accident don't you! We even have stamps to match!

I have also put a picture of our old neighbors that flew back to Omaha just to spend Halloween on our driveway with us! I can't wait to get those pictures developed too! Watch for them soon as I scrapbook them!

And there is also a picture of Cody and Brooke. They chose to stick their tongues out...so that is the picture I am putting on my blog! Teach them to stick their tongues out! LOL

Enjoy scrapbooking your Halloween pictures!

Friday, November 5, 2010

Studio J


Feeling a little behind on your scrapbooking? Close to my Heart is now offering our Studio J online scrapbooking! It is so easy...just 5 steps.
1. Upload your photos
2. Pick your kit (these are CTMH kits from the past, present and some just for members!)
3. Pick your layout (again some just for members...check it out!)
4. Personalize your layout
5. Purchase your layout.

IT'S THAT EASY! There is NO fee to sign up, no software to purchase...so get out there and try it. Go to my website and click on the Studio J link. Sign up (no cost) and PLAY! There isn't a charge until you purchase your layouts! The layouts cost from $6.50 to $13 for a 2 page layout! Want more information? Call or email me and I will help!

I will be having a Studio J Demonstration on Monday, November 8 & again on the 29th. It is a FREE demonstration where I will show you how Studio J works. Bring your laptop, jump drive or just come and watch. If you bring your laptop, we can get your layouts started! They are here at my house at 7:00 each night.

Here are a few layouts I made using Studio J! And, the one of me and my Apple toys (the first one)...my husband made that one is just 10 MINUTES! That is also an exclusive kit only available online and for only for members!

Tuesday, November 2, 2010

November Stamp of the Month


It's that time of year that we are reminded to be THANKFUL. And we have a great stamp set to help you do just that. This stamp set has lots of "thanks" in it. Here are some samples of cards that I made using it.

The first card is using Sunset cardstock and I also used a sheet of background & texture paper from our Mistletoe kit. It has a very fallish look. Change the papers to any season or event and make it take on a whole new look.
The other 2 cards were made using our Grace kit & Magnifique kits. Oh I love stamping. You can stamp them in any colors to make it your own. Give it a try! But remember, this stamp set is ONLY available in November so get it while you can!

Friday, October 29, 2010

Title


Today I wanted to show you a cute title I created. I used our new alphabet today. It's called Old World Alphabet (E1017). I have to say, it wasn't a favorite of mine until I saw something stamped with it. Then I was in love!

As some of you know I LOVE alphabet stamps! I have most of them...but really didn't think I was going to get this one...then I saw it. And, I now own it! LOL So I thought I would show you all how awesome this alphabet it. I stamped this title and will be putting it on a page in the near future, but wanted to show it to you.

The stamp set I used with this is called Fright Night (B1359). A set of stamps that one of my customers ordered...I saw it in her bag and HAD TO HAVE IT. See, it happens to me too!

Enjoy all your Halloween festivities and get some GREAT pictures! We have a ton of cool stamps and kits that will make your pictures SING!


Tuesday, October 26, 2010

Scraplifting


It is ok to scraplift. We do it all the time. And I did it today. I created this layout that I scraplifted right from our Autumn/Winter catalog. It's on page 36. It was just too cute not to steal...so I did. LOL Mine is a little different, but that is what makes it mine.

Remember to look through your catalogs (current or old) to give you inspiration and remember, it is ok to scraplift!

Friday, October 22, 2010

Treat Pockets


Today I am going to show you how to make this treat holder. You can put 2 flat candy bars in the pockets. I have used Ghirardelli chocolates and York peppermint patties. Last year I got the York peppermint patties that were shaped like bats for Halloween. Very cute as far as bats go! LOL


Main cs - 6 1/2 x 3 Score at 3, 3/12 (I used Gypsy cardstock from our Hooligans kit)

Decorate front how you like.

Inside patterned paper - 6 x 6 Score at 1 3/4, 4 1/4, turn 1/4 turn and score at 2 3/4, 3 1/4.


14 inches of ribbon. This is our Pear ribbon from our Pear Mini Medley pack.

Adhere ribbon down the middle of inside of cs.


Fold inside pattern piece and glue together, leaving the ends open to insert candy. Glue real good to the main piece of cs. It is best to glue the middle, then fold the cd and then glue the pattern paper as you are folding it. That will help make it bend better.


You can use Ghirardelli chocolate or York Peppermint patties. One in each pocket.


The stamps I used for this was The Boo Crew (C1421) Very cute little pumpkins. I also used the black Opaques for the eyes on this pumpkin. Can you tell I LOVE those Opaques! The bat that I popped up in the corner was from our In the Month of October stamp set (C1431). So take some time and start creating some great 3 dimensional items for those "special" spooks!

Tuesday, October 19, 2010

Treats for your Spooks!


I like to give some special treats to some of my trick or treater that come to my door, so I will be taking a few days here on my blog to share some of them with you.

These are good for teachers, co-workers, or even those special spooks!
Here is how you make them...

Cut 2 pieces of cs 4 1/4 x 5 1/2 for box. Score 1 3/8 on 2 short sides (sides) and one long side (bottom). See picture.


Cut off the ends on one piece and just cut up the score line on the other box just up to where it intersects with the next score line. See picture.


Assemble making sure the front doesn’t have any outside edges facing forward. So when you are looking at it, it looks nice. It folds backwards. For a nice clean look. Then you are ready to add your front image. You can even add a handle if you chose.


I used our Hooligans Level 2 kit and our Spooky Alley (D1439) stamp set. I LOVE this set! I also used our markers to color in my little Frankenstein guy. The marker colors I used are Pear, Gypsy, Sunset, Cranberry (for his scar) Grey Wool and Grey Flannel. I popped out his head (love the look of popping things up) and then added black Opaques for his eyes. How fun is he! lol

I hope you try this little box. It is a fun way to make your treat a little extra special.